Easy Kitchen Paper Piles: Stylish Filing Ideas
Organizing with style
is the goal when tackling those pesky kitchen paper piles! Does your countertop constantly resemble a mini-mountain range of mail, kids’ artwork, receipts, and takeout menus? If so, you’re not alone! I’ve certainly been there, feeling overwhelmed by the sheer volume and the never-ending clutter. But what if I told you there’s a simple filing system that can transform that chaos into calm, stylish order? Imagine a kitchen where surfaces are clear, you can actually find that important document when you need it, and everything has a designated, attractive home. This dream is achievable with minimal fuss and expense. In under an hour and for just a few dollars, you can implement a solution that looks as good as it functions. In this article, I’ll show you how to create a beautiful and practical system that tames your paper problem and brings a sense of peace to your busy kitchen.
Conquer the Paper Chaos: Organizing Your Kitchen with a Chic Filing System
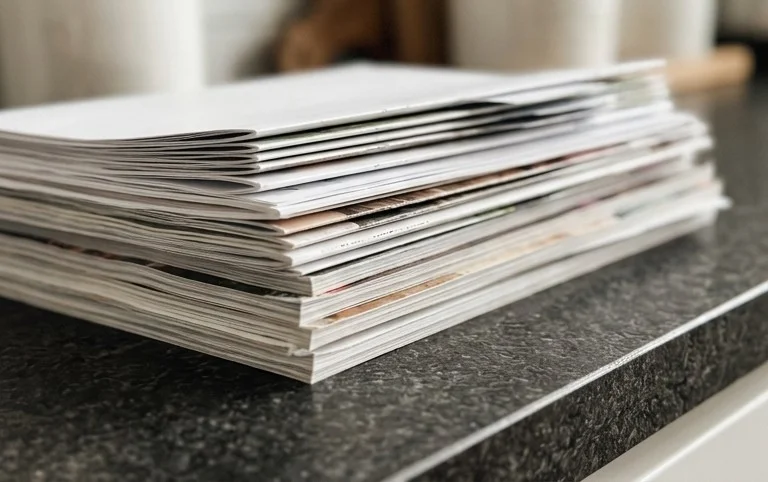
The kitchen. It’s the heart of the home, a place for culinary creation, family gatherings, and, let’s be honest, a magnet for paper clutter. Bills, takeout menus, grocery lists, school notices, mail – it all seems to land on our countertops with an alarming regularity. If you’re nodding your head in agreement, then it’s time to reclaim your kitchen surfaces and introduce some order to the chaos, all while adding a touch of style. Today, we’re tackling those formidable kitchen paper piles with a simple, effective filing system.
I know the thought of organizing can feel overwhelming, especially when the paper seems to be multiplying faster than we can sort it. But trust me, with a few key supplies and a little bit of planning, you can transform your kitchen from a paper graveyard into a beautifully organized and functional space. This isn’t about a drastic overhaul; it’s about implementing a system that’s easy to maintain and, dare I say, even looks good.
What You’ll Need and What it Costs
The beauty of this system is its simplicity and affordability. You don’t need a fancy custom-built solution. Here’s what I recommend, with rough price estimates:
- Vertical File Holder or Magazine Holders (2-3): These are your primary containers for sorting. Look for ones made of durable cardboard, acrylic, or even stylish wood. You can find good quality ones for around $10-$25 each. For a basic setup, two should suffice, but three allows for more granular sorting.
- Hanging File Folders (10-15): These are standard letter-size file folders that hang within a larger container. A box of 10-15 will cost about $5-$10.
- Labels or a Label Maker: You can buy pre-printed labels for $3-$5, or invest in a simple label maker for around $20-$30 for a more polished look and ongoing flexibility.
- Pens or Markers: Whatever you have on hand will work!
- Optional: A Small Bin or Basket: For miscellaneous items or things awaiting shredding/recycling. Around $5-$15.
So, for a complete basic setup, you’re looking at a total investment of roughly $30-$80. This is a small price to pay for the peace of mind and visual harmony you’ll gain.
Measure and Plan: Setting the Stage for Success
Before you buy anything or start shoving papers around, take a few minutes to assess your space.
- Identify Your Paper Hotspots: Where does paper tend to accumulate in your kitchen? Is it a specific corner of the counter, the kitchen table, or even a cluttered drawer?
- Measure Your Available Space: Look at those hotspots. How much horizontal and vertical space do you have? Measure the width, depth, and height of the area where you plan to place your filing system. Most standard vertical file holders are around 10-12 inches tall, 9-10 inches deep, and 3-4 inches wide. Make sure the dimensions fit comfortably.
- Consider Your Paper Flow: Think about the types of paper you receive. Do you have a lot of mail? Lots of recipes? School papers? This will help you decide how many categories you need.
For me, my kitchen’s paper problem was concentrated on a 2-foot section of my countertop near the entryway. I measured this space, noting I had about 12 inches of vertical clearance and enough width for two standard magazine holders side-by-side.
Your Step-by-Step Guide to Paper-Free Kitchen Bliss
Ready to dive in? This process is straightforward and surprisingly satisfying.
- Gather Your Supplies: Have everything you need within reach.
- Clear the Decks: Take everything off the surface where you plan to set up your filing system. This is your blank canvas!
- Set Up Your Holders: Arrange your vertical file holders or magazine holders in your chosen location. If you’re using two side-by-side, ensure they are stable.
- Create Your Categories: This is where you decide what goes where. I recommend starting with 3-4 core categories for a kitchen. Here are some popular and effective options:
- Action/To Do: For bills to pay, forms to fill out, things that require your attention.
- To File/Important: For documents you need to keep but don’t require immediate action, like receipts for tax purposes, warranties, or important notes.
- Read/Reference: For takeout menus, recipes you want to try, event invitations, or articles you’ve clipped.
- Recycle/Shred: A temporary holding spot for junk mail or sensitive documents that need to be disposed of properly.
- Label Your Holders: Clearly label each vertical file holder with its category. Use your pens, markers, or label maker. Legibility is key!
- Sort Your Existing Paper Pile: Now for the fun part! Go through your current mountain of paper. Handle each piece once. Decide which category it belongs in and place it in the corresponding holder. Be ruthless! If it doesn’t fit a category and you haven’t looked at it in six months, it’s probably time to let it go.
- Set Up Hanging Files (Optional but Recommended): Within each vertical holder, you can further subdivide using hanging file folders. For example, in your “To File/Important” holder, you might have hanging folders for “Receipts,” “Warranties,” and “House Documents.” This adds another layer of organization.
- Deal with the “Recycle/Shred” Pile: Immediately take this pile to your recycling bin or shredder. Don’t let it linger!
My “Action/To Do” holder usually contains 2-3 items at any given time. My “To File/Important” has sub-folders for “Taxes,” “Home,” and “Medical.” The “Read/Reference” is a rotating collection of delicious-looking recipes and local event flyers.
Adapting for Small Spaces and Rentals
Living in a compact kitchen or a rental where drilling isn’t an option? No problem!
- Utilize Vertical Space: Instead of placing holders on a counter, consider a tiered desktop organizer or a slim, freestanding shelving unit that fits into a narrow gap.
- Command Strips and Adhesive Solutions: For rentals, look for sturdy adhesive hooks or strips designed to hold weight. You might be able to attach a slim file organizer to the side of a cabinet or even the inside of a pantry door. Always test adhesives in an inconspicuous spot first!
- Drawer Organization: If counter space is at a premium, dedicate a drawer. Use drawer dividers and upright file sorters designed for drawers. Measure your drawer dimensions carefully!
- Slimline Options: Opt for narrower file holders or magazine holders that take up less horizontal real estate.
For my tiny apartment kitchen, I opted for two slim, clear acrylic magazine holders that sit neatly on a shelf above my desk area, which is adjacent to the kitchen. This keeps the paper out of the main cooking zone but still easily accessible.
Styling Notes: Making it Look as Good as it Functions
Organization doesn’t have to be drab. Here’s how to make your filing system a stylish addition to your kitchen:
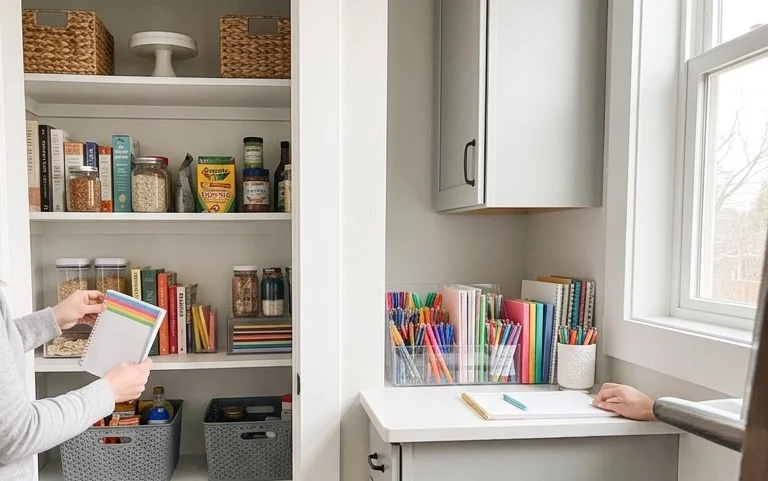
- Color Coordination: Choose file holders and folders that complement your kitchen’s color scheme. If you have a minimalist white kitchen, sleek white or clear acrylic holders will blend seamlessly. For a warmer, more rustic feel, consider natural wood or woven baskets.
- Texture Play: Mix textures! A matte finish on your file holders can contrast beautifully with glossy magazine covers or the textured weave of a storage basket.
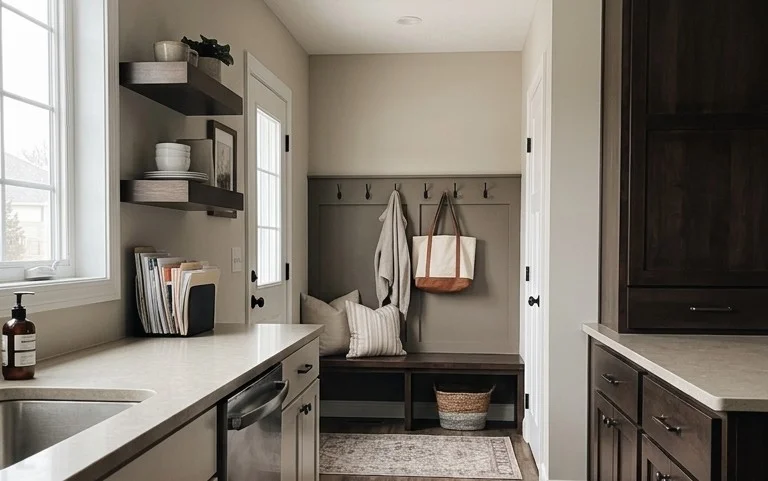
- Placement Matters: Position your filing system in a convenient but not overly obtrusive spot. Near the kitchen entrance or a desk area is ideal. Avoid placing it directly next to your primary cooking zone where it might get splattered with food.
- Curate What You See: While the system is for paper, you can add a decorative touch. Perhaps a small potted herb on top of a file holder, or a stylish pen cup next to it. The key is to keep it intentional and not just more clutter.
- The “Action/To Do” Holder as a Statement Piece: This holder is the most dynamic. Keep it looking tidy with a few strategically placed, colorful envelopes or a neatly folded flyer. It should look intentionally managed, not haphazard.
I personally love a mix of matte black magazine holders with vibrant, colorful labels. It adds a pop of modern design to my otherwise neutral kitchen.
Keeping it Tidy After Week One
The biggest challenge with any organization system is maintaining it. Here’s how to keep your kitchen paper piles at bay long-term:
- The “Handle It Once” Rule: This is the golden rule! When mail or paper comes into the house, deal with it immediately. Sort it into its designated category, toss junk mail, or file it. Don’t let it sit on the counter “for later.”
- Daily 5-Minute Tidy: At the end of each day, or before you leave the kitchen for bed, take 5 minutes to quickly sort through any new papers that have appeared and place them in their correct holders.
- Weekly Review: Dedicate 10-15 minutes once a week (I like Sunday evenings) to review your “Action/To Do” and “To File/Important” holders. Pay bills, file away documents, and clear out anything that’s no longer needed. This prevents those piles from becoming overwhelming again.
- Regular Purge: Every 3-6 months, go through your “To File/Important” categories and purge anything that you no longer need. Are those receipts from two years ago really necessary?
The daily tidy is a game-changer for me. It’s so much easier to process a few pieces of paper each day than a massive pile at the end of the week.
The Mistakes That Make This Fail
Even the best systems can falter. Avoid these common pitfalls:
- Too Many Categories: Overcomplicating your system with too many niche categories will lead to confusion and abandonment. Stick to the basics.
- Vague Labeling: If you can’t quickly decide where something goes, your labels aren’t clear enough.
- Not Dealing with “Recycle/Shred” Immediately: This is a common failure point. If this pile becomes a secondary paper pile, the whole system is compromised.
- Letting the “Action/To Do” Pile Grow Unchecked: This is the most critical category to keep on top of. If it becomes a mountain, it defeats the purpose of the filing system.
- “Out of Sight, Out of Mind” Syndrome: If you hide your filing system away in a dark corner, you’re less likely to use it. Make it visible and accessible.
- Using the Wrong Size Containers: If your papers are constantly flopping over or not fitting, it’s frustrating. Ensure your holders are appropriately sized.
By implementing this simple filing system and being mindful of these common mistakes, you can finally conquer your kitchen paper piles and enjoy a more organized, stylish, and serene cooking and gathering space.
Conclusion
Transforming your kitchen counter from a paper chaos zone into an organized haven truly makes a difference in your day-to-day life. Imagine no more frantic searches for that important bill or school notice! The simplicity of this filing system can bring a sense of calm and control right where you need it most.
Ready to tackle those kitchen paper piles? Your smallest first step today could be as simple as clearing one small section of your counter and dedicating it to your new filing system. Even setting up one file folder is a win!
Looking for other areas to conquer?
Small Steps, Big Impact Variations:
For a different room, consider a similar filing approach for mail and important documents in a small desk organizer for your home office. On a tighter budget, utilize sturdy magazine holders or even decorated cardboard boxes to create your paper management system.
We hope this guide to organizing with style has inspired you to create a more serene and functional kitchen. Explore more ideas to bring harmony to every corner of your home!